365 Pro Toolkit Getting Started Guide
This is the getting started guide for the 365 Pro Toolkit
Requirements
Section titled “Requirements”The following are the requirements for deploying and using the 365 Pro Toolkit.
- NET 8 – This is included with the installer.
- Global Admin Rights – This is required to authorize the app in your tenant. The application does not store your password.
- PowerShell version 5.1 or later – You can check your installed version by running the $PSVersionTable command.
Installation Steps
Section titled “Installation Steps”To 365 Pro Toolkit installer is provided as a exe file. Follow the steps below to install the software.
- Run the 365ProToolkit.exe installer file
- On the Welcome screen click next.
- Accept the end user license agreement and click next.
- Click next on the “Select Installation Folder” screen.
- Click next to start the install.
Tenant Settings
Section titled “Tenant Settings”When you first open the 365 Pro Toolkit you will be prompted to authorize the app. Our product is built using the Microsoft identity platform to establish a trust relationship between the software and your Microsoft tenant. We do not store your username and password. In addition, we do not collect any user data. This is an on-prem tool, and no data is sent back to our servers.
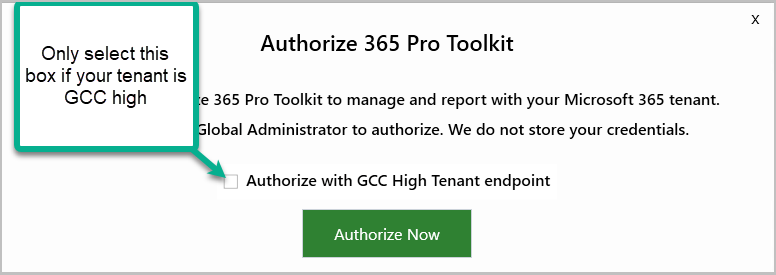
Step 1. Open the 365 toolkit and you will be prompted to authorize the app in your tenant.
Note: If and only if your tenant is GCC High then check the “Authorize with GCC Hich Tenant endpoint” box
Step 2. You will be prompted to sign in with your Microsoft account.
Step 3. After you sign in you will be prompted to accept the permissions.
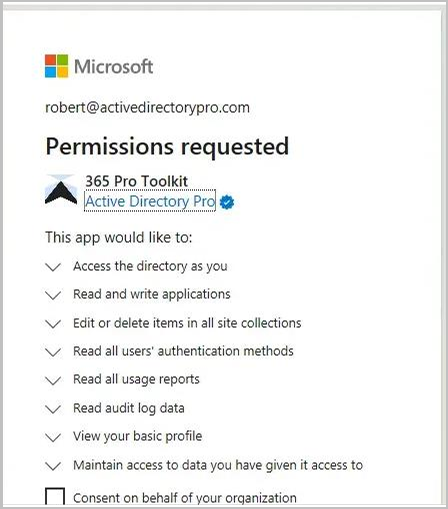
After clicking accept that will complete the authorization of the 365 toolkit.
You can add additional tenants by going to Settings > Tenants
Licensing
Section titled “Licensing”- Click on Settings > License
- Click browse and select your license.lic file.
- Click Activate.