Add or Change ProxyAddress in Active Directory
In this article, I’ll show you how to add, change, and remove ProxyAddresses using the AD Pro Toolkit
The toolkit makes it easy to make changes to the ProxyAddress attribute for multiple user accounts at once.
How to Add ProxyAddresses
Section titled “How to Add ProxyAddresses”In this example, I’ll add new proxyaddresses to multiple user accounts. To update or replace proxyaddresses see the next section.
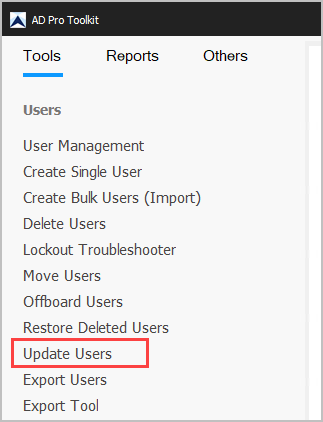
Step 1. Click on “Update Users”
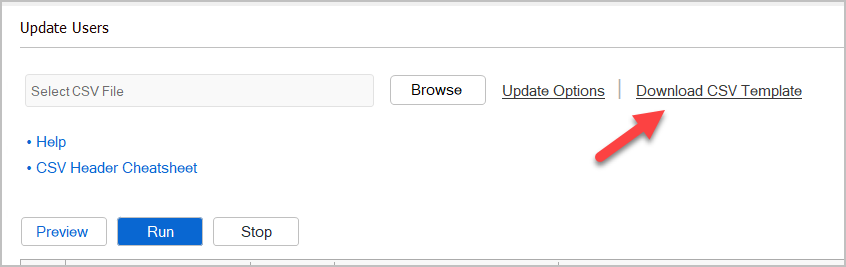
Step 2. Click on “Download CSV Template”
Step 3. Fill out the CSV with user and proxyaddress information. If you need to add multiple proxyaddresses, separate them with a comma. You can remove columns from the csv that you do not need.
CSV Example
Section titled “CSV Example”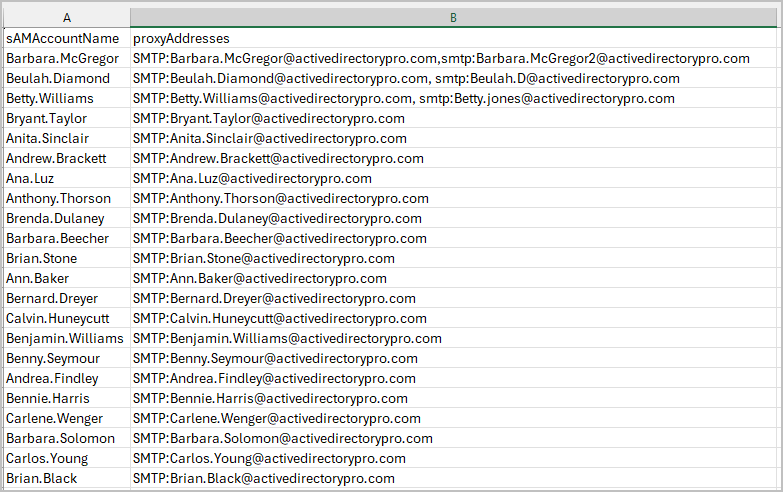
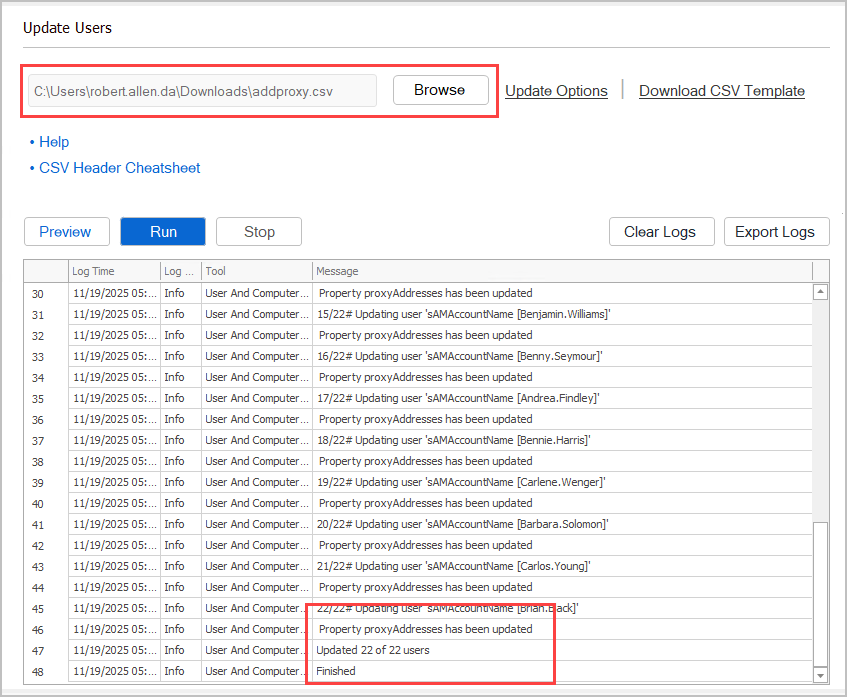
Step 4. Select your CSV file and click run.
Check the log output for errors and update status.
Change Existing ProxyAddresses
Section titled “Change Existing ProxyAddresses”If you want to make changes to an existing proxyaddress follow these steps.
Step 1. Download the csv template
Step 2. Fill out the csv with the target account and addresses you want to update.
- sAMAccountName = Target user account
- proxyAddresses = Target proxyaddress for the account you want to update
- proxyAddresses_update = This will replace what is in the proxyAddresses column.
CSV Example
Section titled “CSV Example”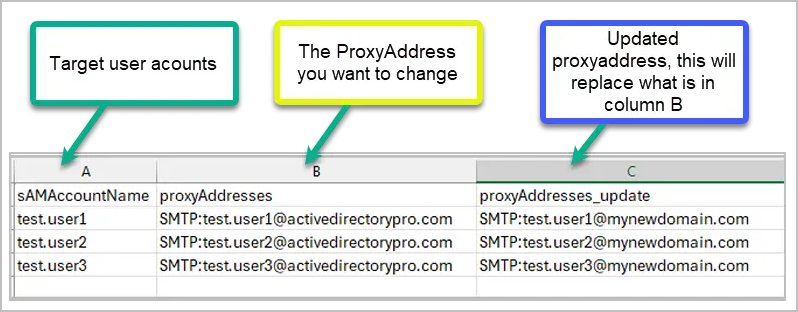
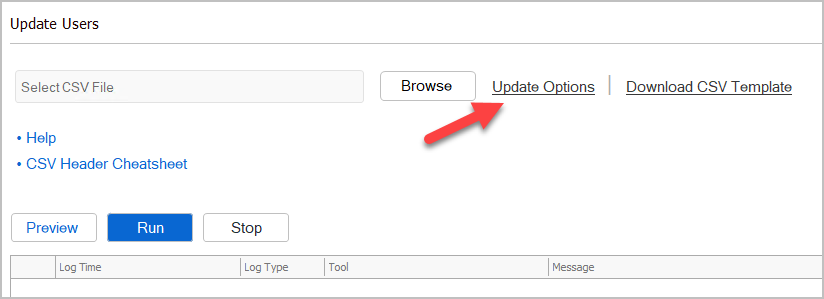
Step 3. Click on “Update Options”
Step 4. Select “Update Existing”
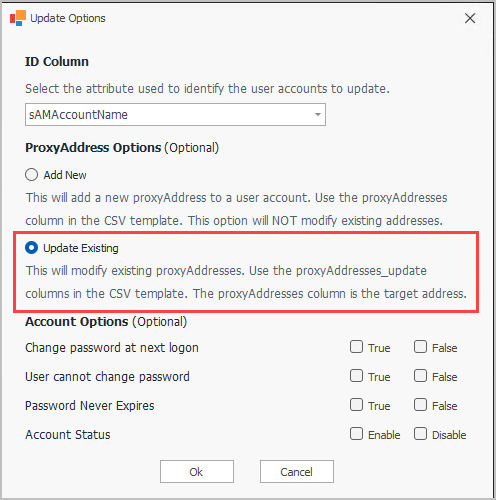
Click ok.
Step 5. Select your CSV file and click “Run
Remove ProxyAddress
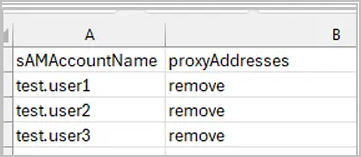
Section titled “Remove ProxyAddress”Step 1. Put remove in the proxyAddress column.
Step 2. Open the bulk modify user tool.
Step 3. In the options “Add New” should be selected. Although you are not adding new proxyAddresses this option must be set to remove the addresses.
Step 4. Select your csv file and click run.