Create Active Directory Reports
Description
Section titled “Description”The AD Pro Toolkit includes over 200 pre-defined Active Directory Reports. Reports can be customized, exported and run on an automated schedule. Below are the steps on how to create Active Directory reports and export them.
How to Create AD Reports
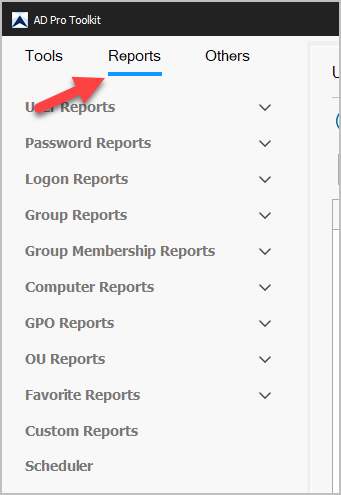
Section titled “How to Create AD Reports”Step 1. Click on Reports
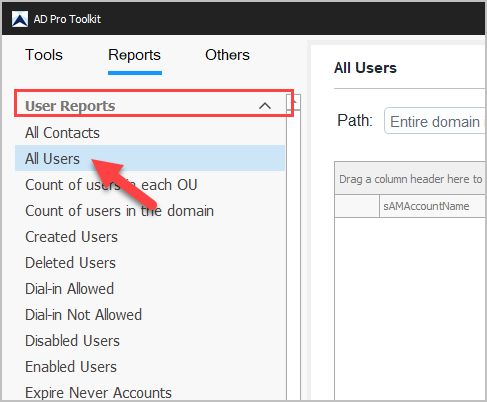
Step 2. Select a Report Category and a Report from the list
Step 3. Click “Run” to generate the report
- Note 1: By default, the reports will run for the entire domain. Click browse if you want to report on an OU or group.
- Note 2: To add or remove columns click the “columns” button.
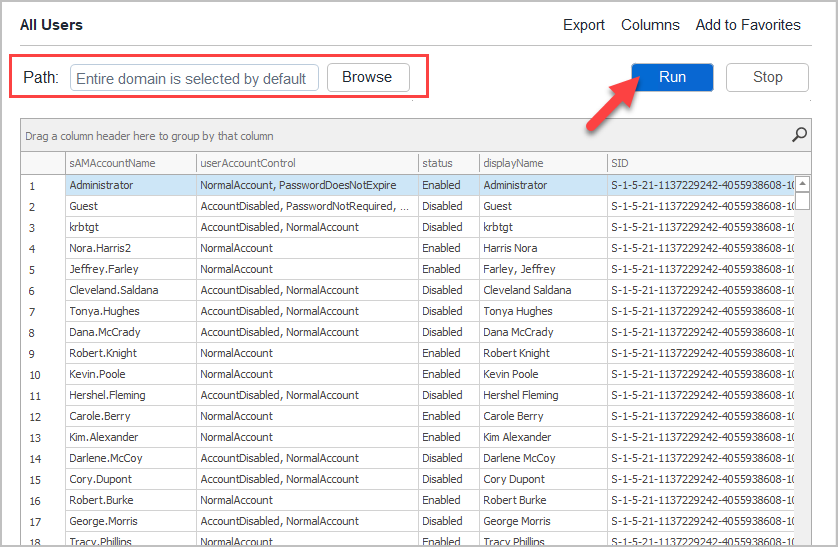
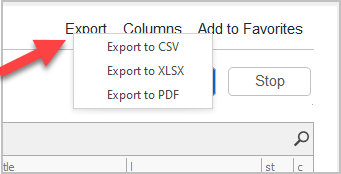
Step 3. Export the Report
To export a report, click the export button and choose your format.
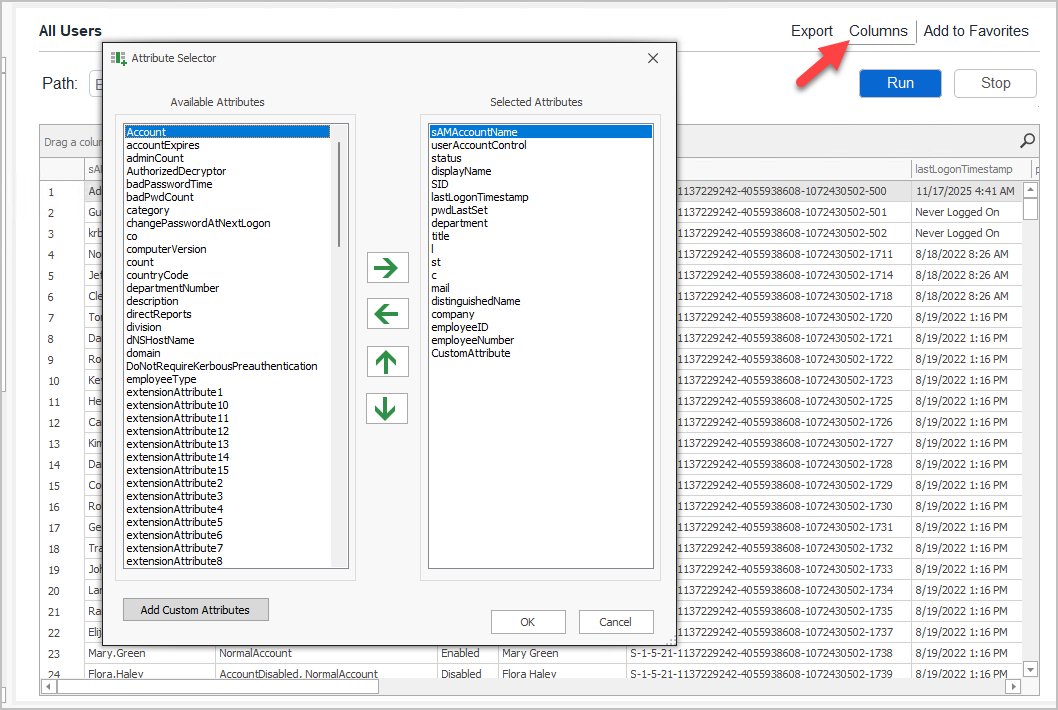
Customize Reports
Section titled “Customize Reports”All reports can be customized by clicking the “Columns” button and add/removing attributes.
Use the arrow to add or remove attributes and move the column order.
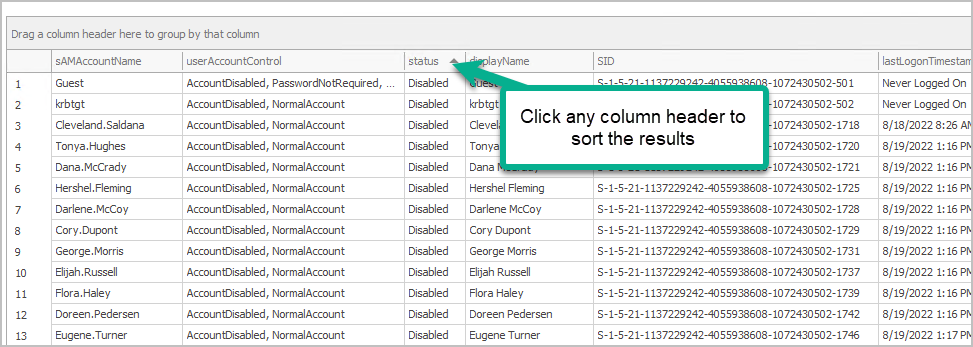
Sort, Filtering and Searching
Section titled “Sort, Filtering and Searching”The reporting tool includes multiple options to sort and filter on the results.
Click on any column to sort the results. For example, I’ll click on the “status” column to sort the status.
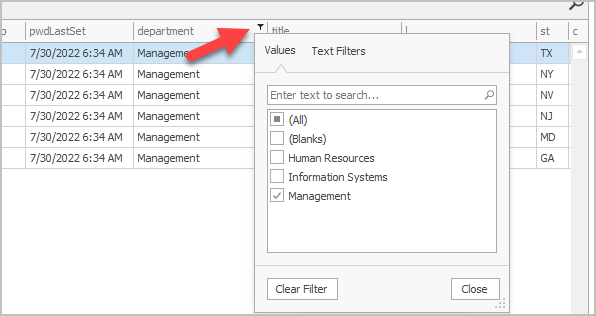
Filter
Section titled “Filter”On any column click the filter icon to filter the results. For example, I’ll filter on the department column.
Advanced Filter
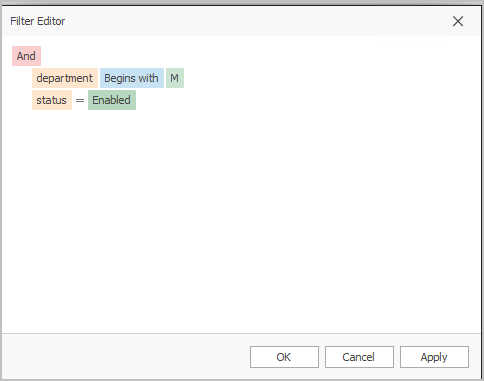
Section titled “Advanced Filter”To access the advanced filter right click any column and select “Filter Editor”. The advanced filter lets you define multiple conditions.
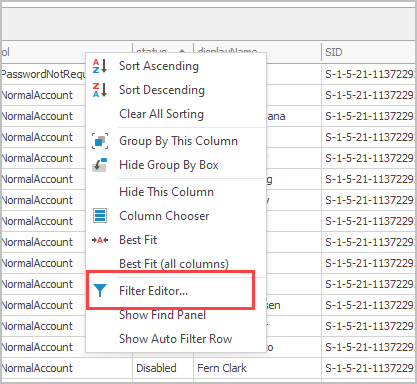
Create multiple conditions to filter on exactly the data you need.
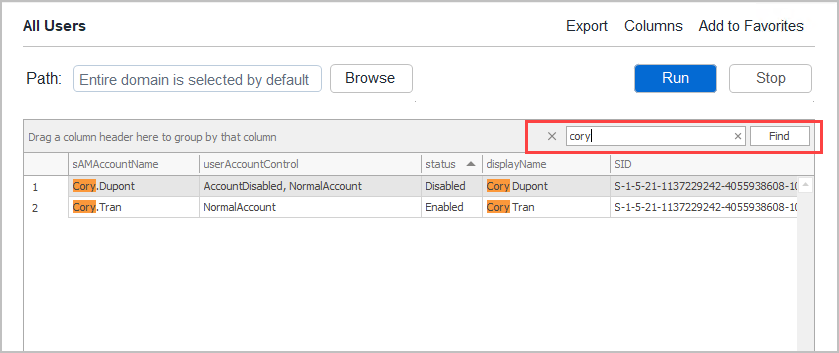
Search Reports
Section titled “Search Reports”To search the report click the “Search” icon.
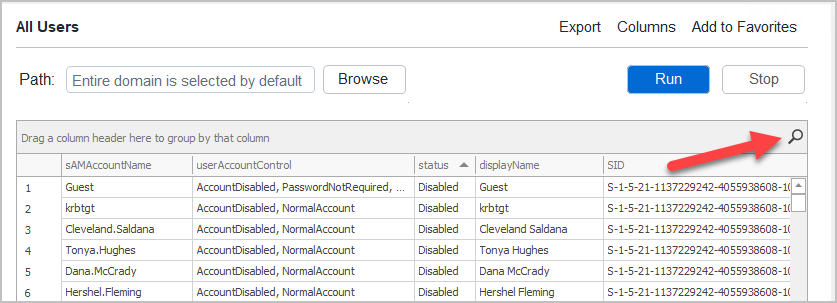
Enter a keyword to start filtering the results