Active Directory Audit Policies
Active Directory audit policies must be configured to ensure events are logged when activity occurs. The steps below walk through the audit policy settings that need to be enabled.
Active Directory Audit Policy Configuration
Section titled “Active Directory Audit Policy Configuration”Step 1: Open the Group Policy Management Console (GPMC)
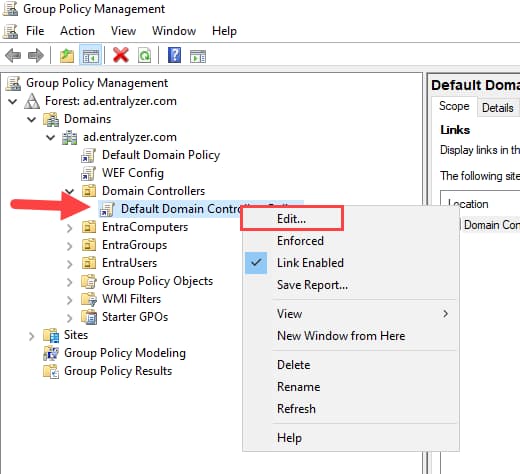
Step 2: Right click “Default Domain Controllers Policy” and select edit.
Step 3: Under Computer Configuration, click Policies > Windows Settings > Security Settings > Advanced Audit Policy Configuration > Audit Policy
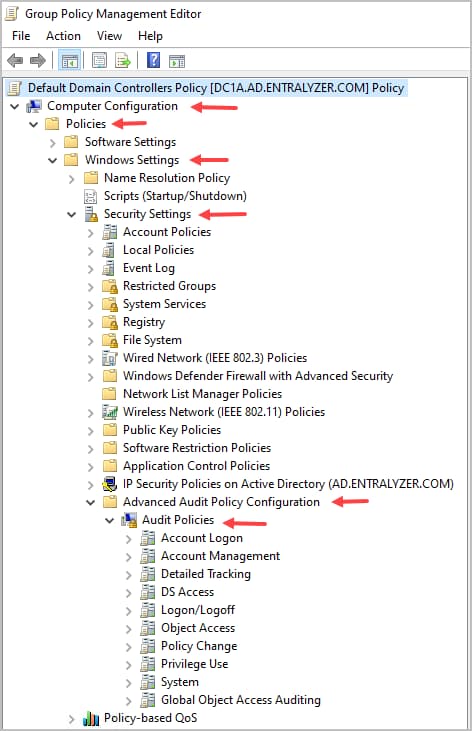
Step 4: Configure the audit policies based on the table below
Advanced Audit Policy Settings for AD Audit Pro
Section titled “Advanced Audit Policy Settings for AD Audit Pro”| Policy Path | Policy Settings Name | Audit Event Settings |
|---|---|---|
| Account Management | Audit Computer Account Management | Success |
| Account Management | Audit Security Group Management | Success |
| Account Management | Audit User Account Management | Success and Failure |
| DS Access | Audit Directory Service Changes | Success |
| Logon/Logoff | Audit Account Lockout | Failure |
| Logon/Logoff | Audit Logon | Success and Failure |
| Policy Change | Audit Audit Policy Change | Success |
Configure Active Directory Object Level Auditing
Section titled “Configure Active Directory Object Level Auditing”There are specific events that do not generate an audit log entry until object level auditing is enabled.
AD Audit Pro require object level auditing
- Moved users
- Moved groups
- Moved computers
- Deleted GPOs
- GPO Link Changes
- Created OUs
- Deleted OUs
AD Audit Pro Object Level Audit Settings
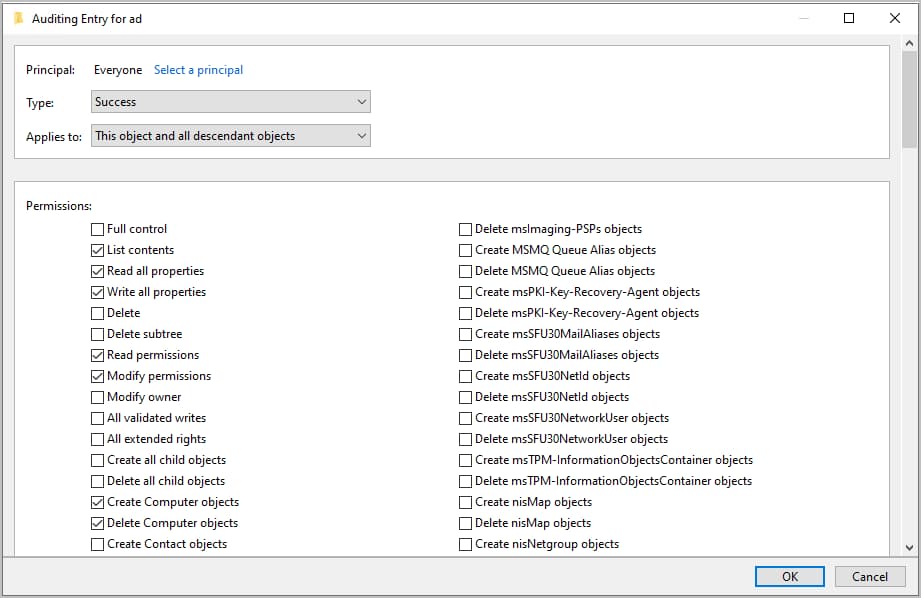
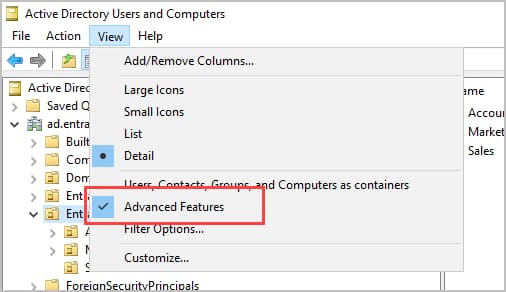
Section titled “AD Audit Pro Object Level Audit Settings”Advanced Features must be enabled in ADUC to complete the steps. Click on “View” and then “Advanced Features”.
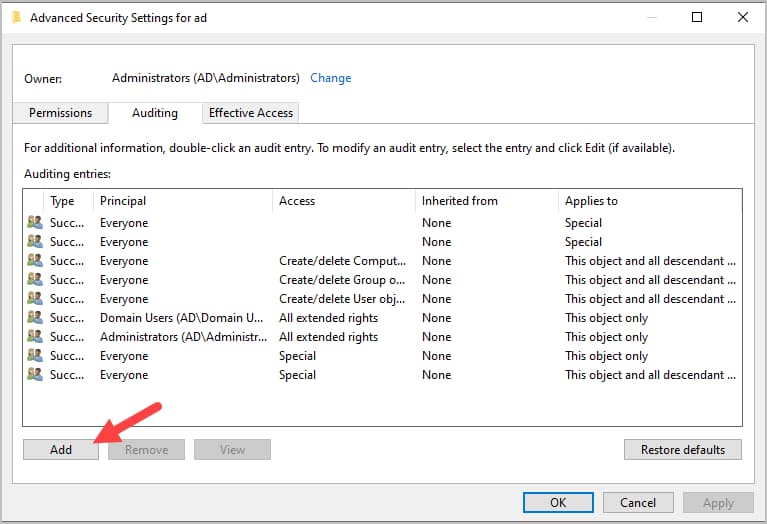
Step 1. Open ADUC, right click on your domain and select properties.
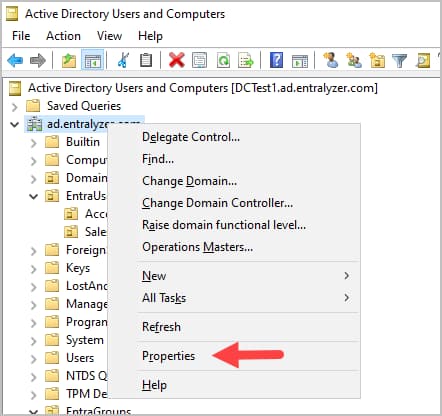
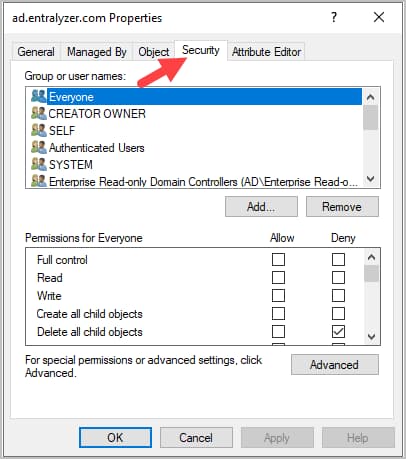
Step 2. Click on “Security”
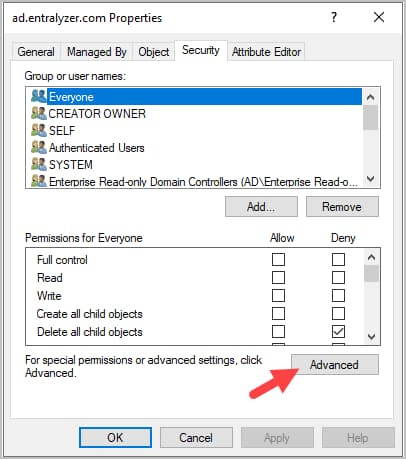
Step 3. Click on “Advanced”
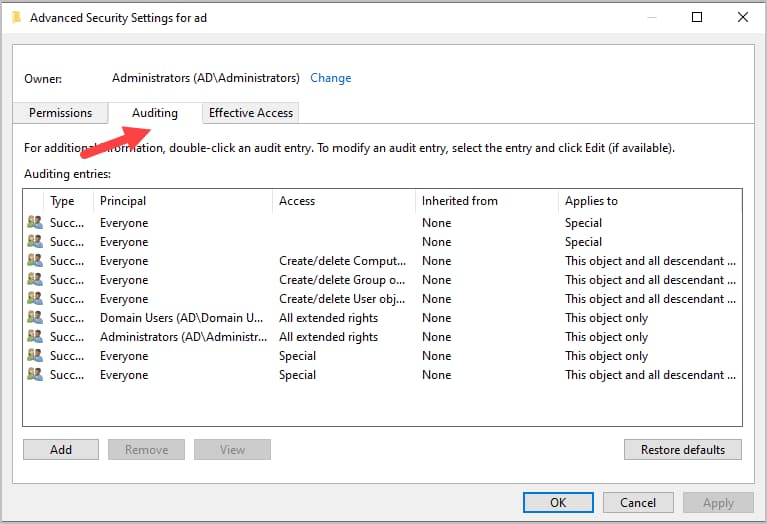
Step 4. Click on “Auditing”
Step 5. Click on “Add”
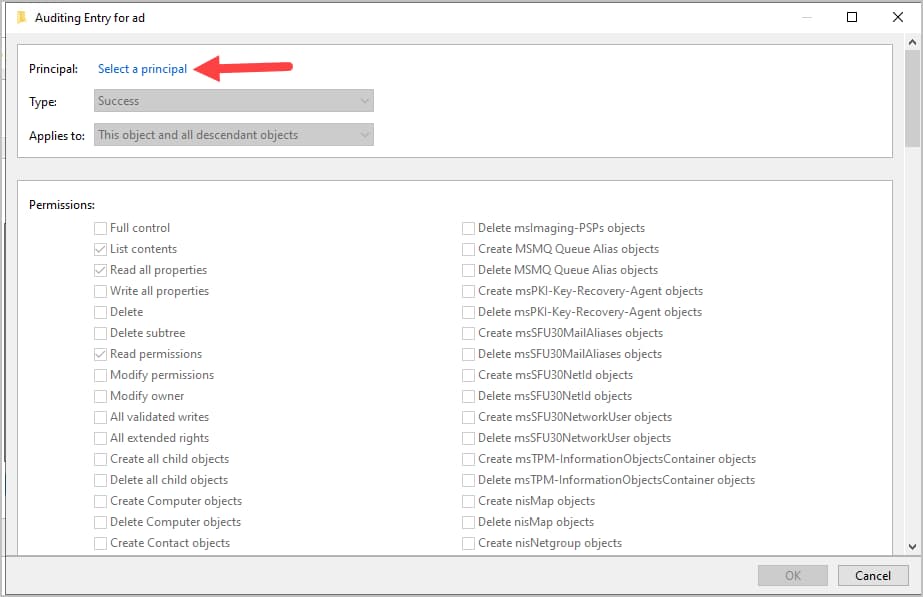
Step 6. Click on “Select a Principal”
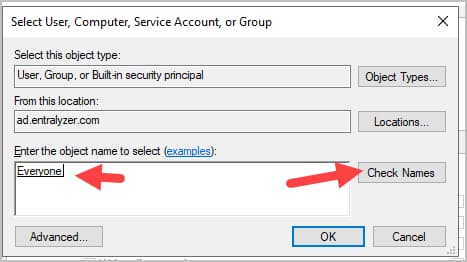
Step 7. Type Everyone, click “Check Names” and click “OK”.
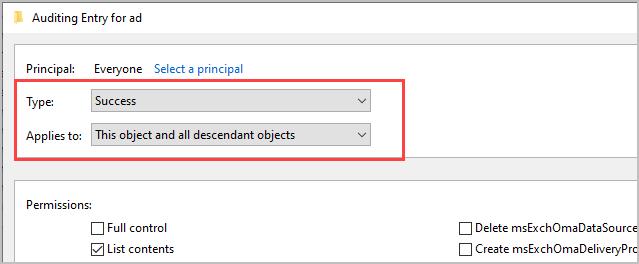
Step 8. Ensure Type = Success and Appplies to = This object and all descent objects
Step 9. Set the following Permissions:
- Write All Properties
- Delete
- Modify Permissions
- All Extended Rights
- Create user objects
- Delete user objects
- Create Group objects
- Delete Group objects
- Create computer objects
- Delete computer objects
- Create Organizational Unit objects
- Delete Organizational Unit objects
- Create groupPolicyContainer Objects
- Delete groupPolicyContainer Objects
Example screenshot